If you’re evaluating thermoforming plastic sheets for the first time, you’re likely balancing speed, risk, cosmetics, and scalability. This guide gives you the engineering essentials—what thermoforming is, how to choose sheet materials and gauges, and the DFM choices that protect tolerance, appearance, and repeatability from prototype to production. Along the way, you’ll see pointers to CW Thomas resources that go deeper.
What Thermoforming Is (and When It Wins)
Thermoforming heats a plastic sheet to its forming temperature and shapes it over a tool using vacuum or pressure. It’s ideal when you need medium-to-large covers, enclosures, trays, and panels with lower tooling costs and faster iteration than injection molding.
In practice, you’ll choose between two closely related processes:
- Vacuum forming pulls the heated sheet onto the tool using atmospheric pressure. It’s efficient for many enclosures and trays with moderate detail.
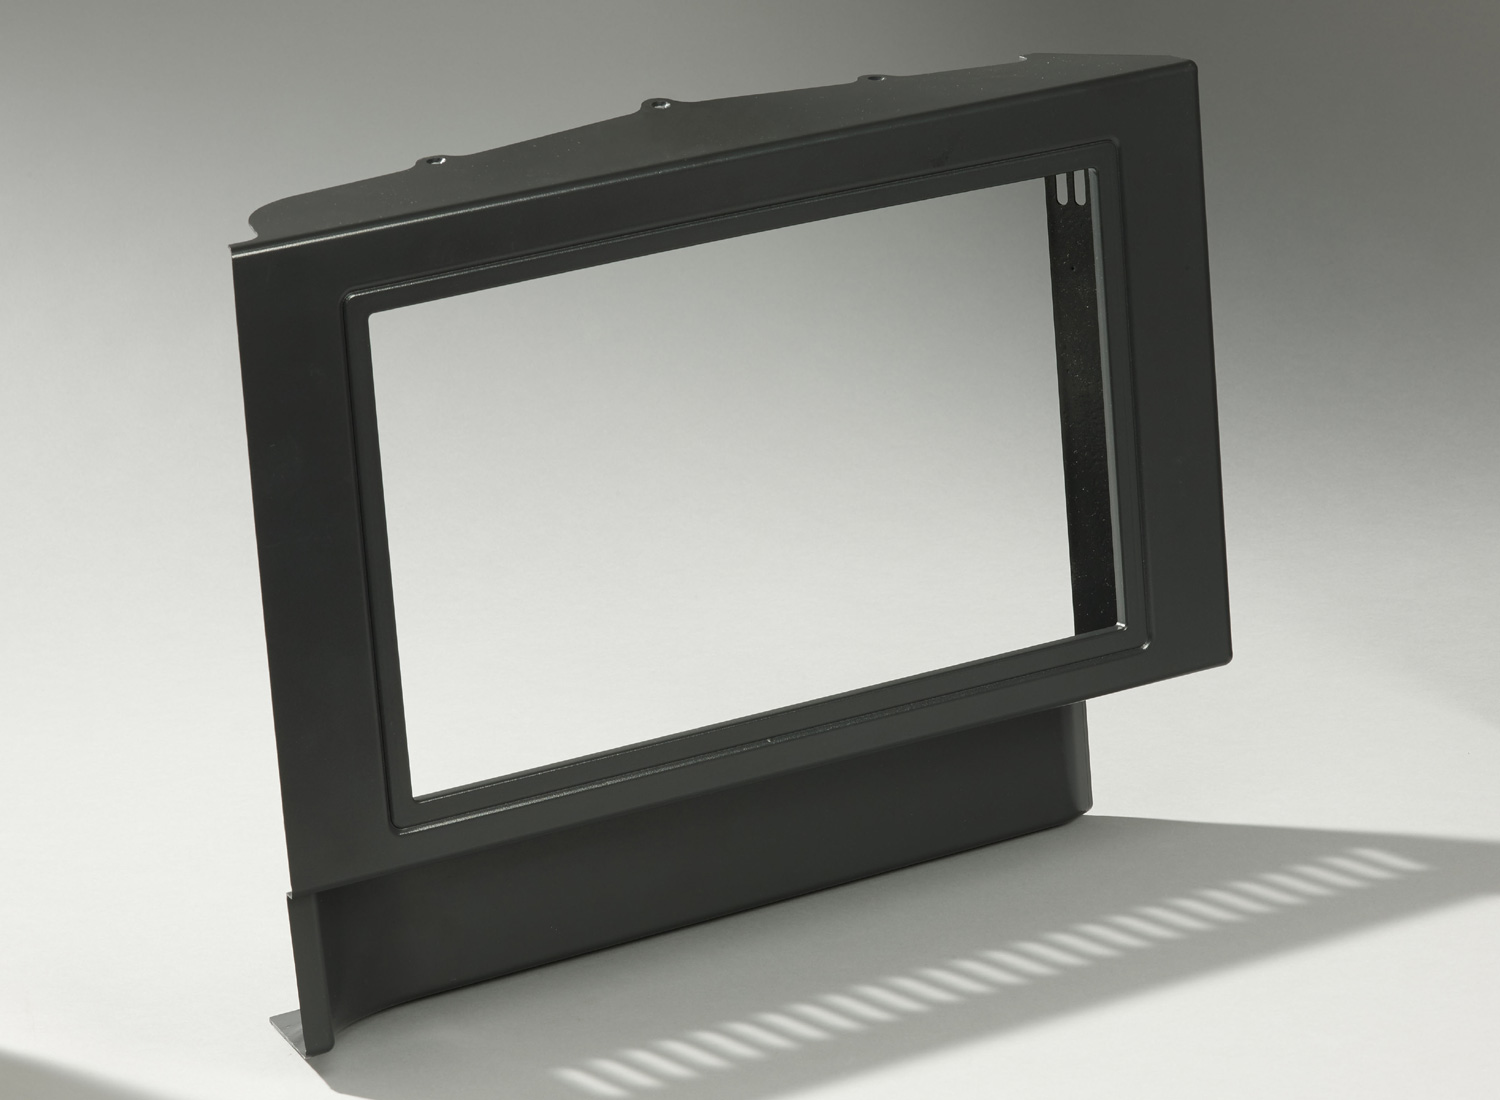
- Pressure forming adds positive air pressure for crisper edges, sharper radii, and improved A-surface cosmetics—great when appearance is as important as performance.
- Want to see the difference in detail and use cases? Read our primer on Vacuum vs. Pressure Forming in the CW Thomas Blog.
Sheet Selection 101: Resin, Gauge, and Surface
Selecting the right plastic sheet sets the ceiling for performance and the floor for manufacturability. Start with the environment and target wall thickness, then back-solve to a starting gauge that accounts for draw depth and thinning.
Common thermoforming resins and trade-offs
- ABS / Kydex® (PVC/ABS)
Versatile, stable forming, broad textures and colors, paintable. Good default for industrial and medical enclosures. - Materials like ABS and HDPE are often selected for their impact and chemical resistance, which are crucial in industries like IPTV. For example, the enclosures of IPTV set-top boxes often use HDPE for its ruggedness and ABS for its ability to maintain stable forming with excellent cosmetic finishes. These materials ensure that the devices remain durable and functional in home environments.
- PC (Polycarbonate)
High impact and heat resistance; may need paint or texture to elevate cosmetics. - PETG
Clear, easy to form; ideal for guards and covers. Watch heat deflection and chemical exposure. - HDPE
Excellent impact and chemical resistance; UV-stabilizable. Harder to hold very tight tolerances, doesn’t bond or paint well—prefer welding or mechanical fastening. - Acrylic (PMMA)
High gloss; more brittle and technique-sensitive to form.
Gauge and surface design cues
- Back-solve starting gauge from required final wall at the deepest draw; factor expected thinning by geometry and process.
- Consider cap stock (co-extruded surface layer) for UV protection, color, or chemical resistance without paying for full-thickness premium resin.
- Specify texture and color at the sheet level when possible to avoid post-paint cost and schedule.
Dig deeper: Compare resins side-by-side in our Thermoforming Materials Guide, and see our HDPE Resources hub for outdoor and chemical environments.
DFM for Thermoforming Plastic Sheets
Good DFM takes risks early. The aim is controlled thinning, clean release, stable trim, and repeatable assemblies.
Start with a few governing principles:
- Draft and radii
Provide draft on all formed walls (3–5° vacuum forming, 5–7° for deep draws; pressure forming can tolerate slightly less). Use generous inside radii to reduce stress whitening and thin spots. - Draw ratio and wall profile
Keep draw ratios within material limits. Use plug-assist to push material into deep features and balance wall thickness. - Critical features
Put sealing lands, mounting interfaces, and datum surfaces on tool-controlled faces. Stabilize criticals with fixtured CNC trimming. - Parting lines and undercuts
Plan parting lines in low-visibility areas. Minimize undercuts, or accommodate them with lifters/split tooling and the cycle-time trade-offs that come with them.
A quick DFM checklist
- Target final wall thickness and back-solve start gauge.
- Add draft everywhere; bump radii on inside corners.
- Use plug-assist for deep, detail-rich zones.
- Define datums for trimming and downstream assembly early.
- Confirm A-surface texture, gloss, and color at the sheet level.
Helpful read: Design Guide for Thermoforming covers draft, radii, and trim datum strategies with visuals. Download Your Copy
Tooling Strategy: From First Articles to Long-Run Production
Your tooling plan should match program risk and timeline. A typical path:
- Prototype tooling
Ren board or aluminum-Ren hybrids offer fast turns for fit/finish checks and early functional testing. Design in adjustability (shim points, machine-able faces) to support minor tweaks. - Production tooling
Cast or machined aluminum—with proper cooling and surface prep—supports tighter windows, higher volumes, and long-term repeatability. Establish surface texture (bead-blast, etch) and confirm paint, labels, and gaskets during FAIs.
Why it matters: In-house tooling shortens ECO cycles, aligns DFM with actual forming behavior, and preserves learning as you scale from prototype to production.
Heating, Forming, and Trimming: Process Notes Engineers Care About
Thermoforming is a thermal and pressure balance. Consistency is king.
- Heating
Zoned heaters deliver uniform sheet temperature; complex parts may need differential heating to protect corners and avoid webbing. Monitoring sheet sag and surface temperature helps repeat set-points and maintain cycle-to-cycle consistency. - Forming
Vacuum timing and pressure ramps matter. Pull too early and you can print tool detail before the sheet distributes. Plug-assist materials (syntactic foam or aluminum) should be polished and temperature-controlled to prevent scuffing. - Trimming and secondary ops
CNC trimming defines holes, edges, and precise interfaces—design stable trim fixtures with datums that mirror assembly datums. Plan bonding, welding, fasteners, inserts, paint, labels, and assembly downstream. Note for HDPE: prefer welding or mechanical fastening over adhesives, and avoid paint.
Tolerances, Cosmetics, and Quality
Thermoforming can deliver excellent fit and finish when expectations are set by geometry and process.
- Tolerances
Deep features will have looser as-formed tolerances than injection molding; lock critical dimensions in trim or via secondary machining. Stabilize variation with controlled cooling and robust fixturing. - Cosmetics
Pressure forming yields sharper edges and reduced “orange peel” on A-surfaces. Place high-visibility areas away from maximum thinning zones and confirm texture/gloss early with sheet and tool samples. - Quality discipline
For regulated industries, align documentation and inspection with AS9100 practices—FAIs, traceability, controlled nonconformance handling, and clear acceptance criteria.
Material Spotlight: Where HDPE Fits vs ABS and PC
A common early trade is “impact and chemical resistance vs tight tolerances and cosmetics.
- Choose HDPE when you need ruggedness, outdoor durability, and chemical resistance. Expect looser tolerances and plan for welding or mechanical fastening rather than adhesives or paint. Great for heavy-duty trays, pallets, and material-handling parts.
- Choose ABS / Kydex when you want stable forming plus strong cosmetics, textures, and colors. Ideal for medical and industrial enclosures that need paint or tight trimmed interfaces.
- Choose PC when impact and heat resistance lead, and you can manage surface finish via paint or texture.
Explore deeper: Thermoforming Materials Guide compare performance, finishing, and DFM considerations.
Where to Go Next
- Have CAD and specs ready
Get a quick technical review and a right-sized quote from our engineering team. - Need DFM guidance
Book an engineer-to-engineer session to finalize draft, gauge, draw strategy, and tooling approach before you cut. - Researching materials or processes
Visit the Resources hub for the Materials Guide, HDPE Resources, and blog posts on vacuum vs pressure forming, CNC trimming, and FAI best practices.